|
|||||||||||||||||||||||
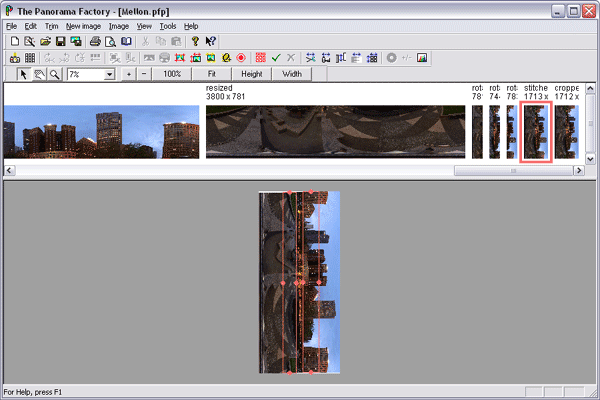
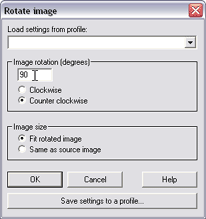
Step H -- Rotate the fully stitched image 90 degrees counter-clockwiseAt this point each image has a horizontal angular resolution of about 10 pixels per degree because we resized each 380 degree image to 3800 pixels. In this step, we rotate the fully stitched image back to its correct orientation. NOTE: It is probably best to make manual adjustments to the stitched row images and the fully stitched image before starting this step. If you see ghosts (faint double images), you can often correct them using the Fine tune command (Image menu) and/or with manual fine tuning. For more information, refer to the section "Fine tuning the image alignment" in Chapter 6 of the online help, "Correcting stitching problems". Sometimes ghost images cannot be eliminated with fine tuning, for example if an object (e.g. person or car) moved between the times you made two photographs. You can sometimes remove these ghosts by adjusting the boundaries of the blending region. For more information, refer to the section Adjust blending region boundaries in Chapter 4 of the online help, "Using the Classic interface, step by step".
Advance to Step I -- Crop the rotated image to exactly 360 degrees Back to Step G -- Stitch the rotated rows together Up to The list of the major steps |
|||||||||||||||||||||||
|
Revised: January 31, 2006 © 1999-2006 Smoky City Design, LLC and John Strait |
|||||||||||||||||||||||

