|
|||||||||||||||||||||||
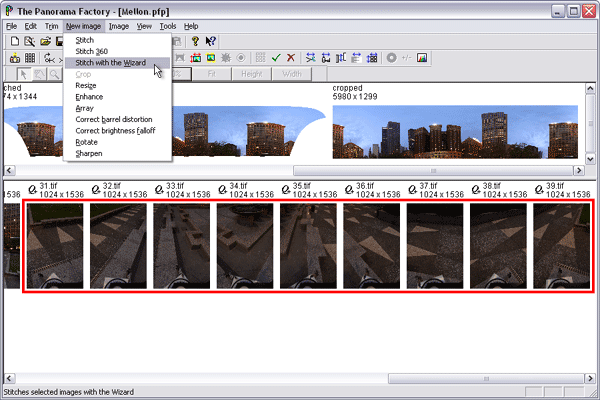
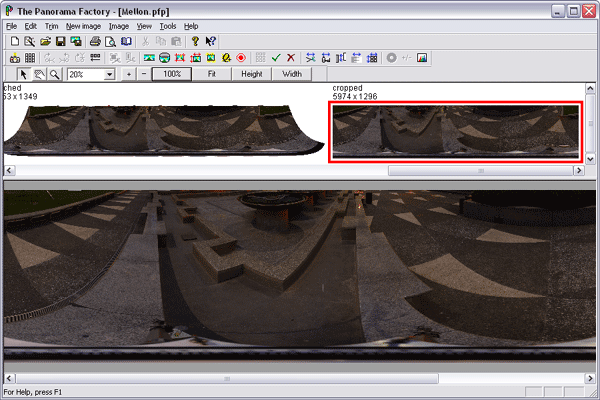
Step C -- Stitch the lower rowIn this step, you stitch the lower row of images into a 360 degree panorama that is parallel to the central row. If all goes well, this lower row will match the spherical coordinate system of the central and upper rows.
Advance to Step D -- Re-crop each of the stitched images to slightly more than 360 degrees Back to Step B -- Stitch the upper row Up to The list of the major steps |
|||||||||||||||||||||||
|
Revised: January 31, 2006 © 1999-2006 Smoky City Design, LLC and John Strait |
|||||||||||||||||||||||