Step G -- Crop the image
In this step, we crop the rotated image to remove extraneous white space.
If we want to, we can simultaneously flatten the perspective.
-
Choose the
Crop command (New image menu).
-
Set cropping parameters as you wish, or keep
the defaults.
Drag the boundaries of the cropping region to
enclose the part of the image you want to keep.
-
Click Approve.
-
Note that if you have gotten
everything right, the
Perspective correction cropping option should create a conventional
image that preserves straight lines. You should not use
perspective correction if you plan to display the image in a VR viewer.
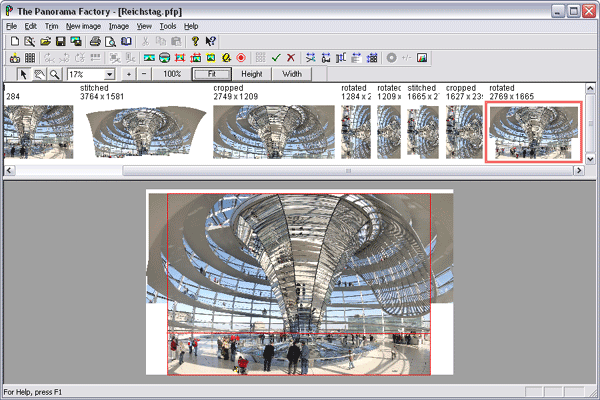
The panorama in our example
has a very wide field of view, over 100 degrees. This means that the
Perspective correction option introduces a significant amount of
distortion. So for aesthetic reasons, we used the regular
Rectangular crop with this panorama. Refer to
Reichstag
perspective correction to see the image with perspective correction.
Advance to Step H --Sharpen the image if desired
Back to Step F -- Assign
panoramic properties to the rotated image
Up to The list of the
major steps
top
|
|
Revised:
January 12, 2007
Text © 2007 Smoky City Design, LLC
and John Strait
Photos © 2006 Stephen Wateridge, used with permission
|