In this step, you stitch the first row of images into a horizontal
panorama. This first row is used as the starting point for the full
panorama. It establishes the focal length and the horizontal
axis of the panorama. I recommend you start with the row that is
closest to having tilt angle zero because it is the reference for all other
rows.
-
Start a new project and immediately Cancel the Wizard.
-
Use the
Import images...
command (File
menu) to import the images for all rows into the project file and make sure they
are arranged left to right in each row, one row after the other.
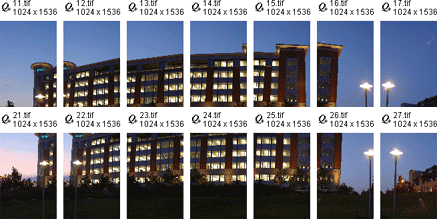
Here are the images we'll be using in this example:

-
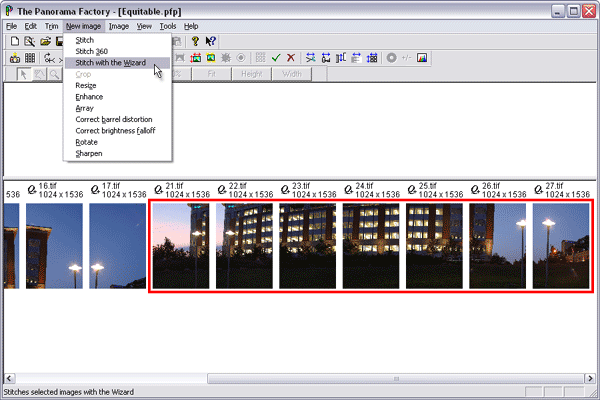
Select the thumbnails in the first row (I
recommend you start with the row at tilt
angle zero) and choose the
Stitch with the
Wizard command (New image menu).

-
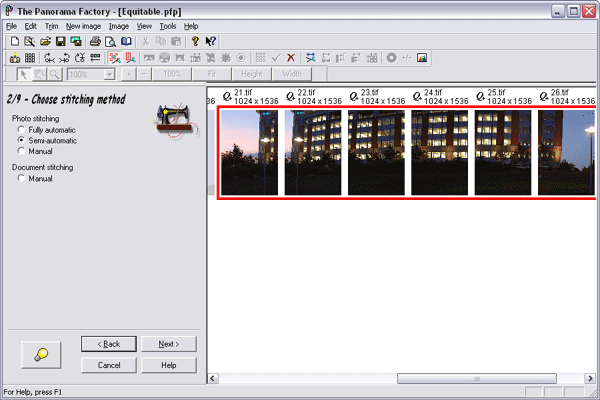
Choose Semi-automatic photo stitching on
Wizard 2/9.

-
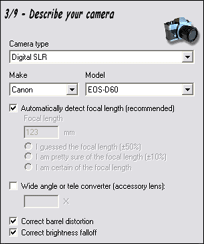
Select Automatically detect focal length and Correct barrel distortion
on
Wizard 3/9.

-
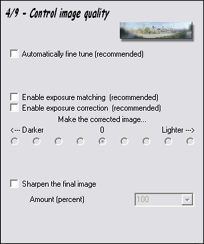
I recommend not selecting any checkboxes on
Wizard 4/9.

-
You should disable automatic fine tuning of
the image alignment because stitching is a lengthy process and may require some back-and-forth in
the program. Fine tuning in the Wizard will slow things down. You can
apply the
Fine tune command (Image
menu) after stitching is finished, so it’s often
best to postpone this step until everything else is just right.
-
If you have used your camera in manual exposure
mode, exposure matching and exposure correction should be
unnecessary. If you decide later you want to try these options
after you're done stitching, you can use the
Blending properties dialog box (Tools
menu) to change the settings.
-
Sharpening is best applied to the final image,
not to each stitched row individually. so we disable it for the
individual rows.
-
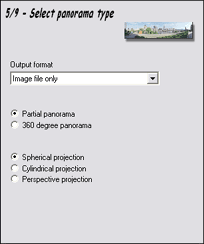
Select Partial panorama and Spherical projection on
Wizard 5/9.

-
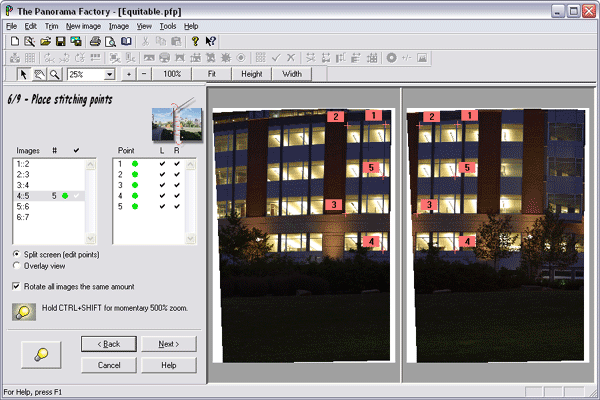
Place stitching points on
Wizard 6/9 to stitch the first row of the panorama. I recommend this procedure
for plsacing stitching points:
-
Place stitching
points on one image pair. I recommend using distant points and/or points all
in the same plane.
-
After placing 5 points, you should get a dot in
the Images list.
-
Once you have the image dot, go back to each stitching point in
turn and examine them at large zoom scale (400% or 500%). Adjust the
stitching points so that they match well on the two images.
-
It is
probably sufficient to place stitching points on just one image pair
because you are using Semi-automatic photo stitching.

-
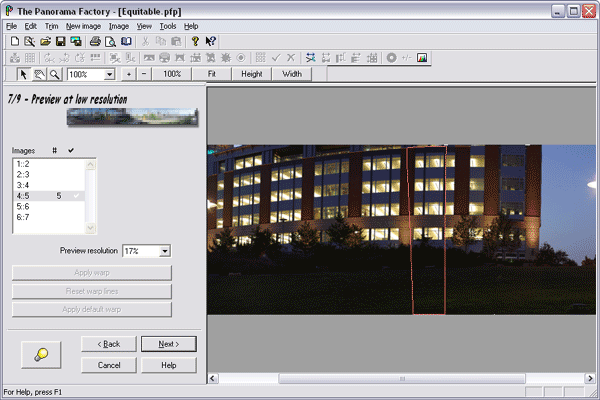
Advance to
Wizard 7/9.

Examine the preview image to be sure the stitch is accurate. If it
is not accurate, return to
Wizard 6/9 to adjust stitching points or add new stitching points to
other image pairs.
-
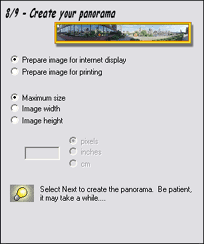
Advance to
Wizard 8/9 and select
Prepare for internet display and
Maximum size.

-
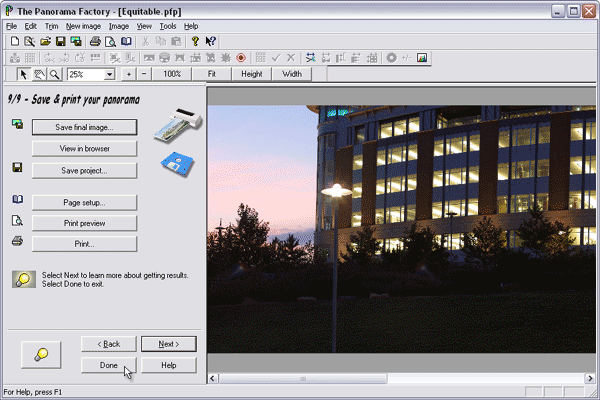
Advance to
Wizard 9/9 to complete the stitch and click Done to exit the Wizard.

-
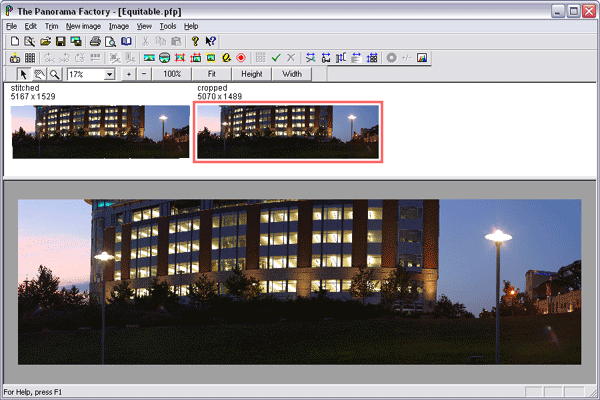
At this point, you should see a stitched and
cropped thumbnail in the upper pane and the cropped image in the lower
pane.

-
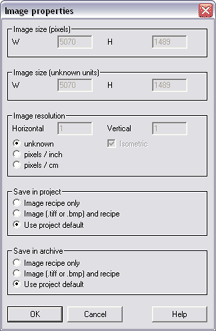
Choose the
Properties command (Image
menu). Write down the W value from Image size
(pixels) in the
Image properties dialog box. We'll need this value in a
later step. We'll refer to it as StepA_W. In our example, this
value is 5070. Click Cancel
to close the
Image properties dialog box.

-
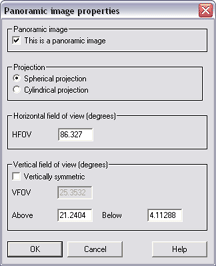
Choose the
Panoramic properties command (Image
menu). Write down the HFOV value from Horizontal
field of view (degrees) in the
Panoramic image properties dialog box. We'll need this value
in a later step. In our example, this value is 86.327. We'll refer to it as StepA_HFOV.

-
FOR THE BOTTOM ROW ONLY: If
you are starting with the bottom row, also write down the Below
value from Vertical field of view (degrees) in the
Panoramic image properties dialog box. We'll need this value
in a later step. In our example, this value is 4.11288. We'll refer to it as StepAB_Below.
-
Click Cancel to close the
Panoramic image properties dialog box.
